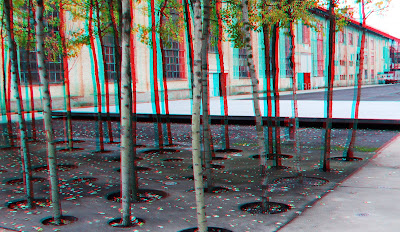
In this column, I'll try a few things to address and understand.
First an attempt to explain the anaglyph.
From Wikipedia:
"An anaglyph or an anaglyph is a special stereogram, which represented the two stereoscopic half-images are not next to each other, but - usually with a red-green filter - can be superimposed Although the usual polarizing filter projection is a anaglyphic representation. is the term used mostly for anaglyph Farbanaglyphen, where the fields are colored in complementary colors. The separation of the two fields is performed by special anaglyph glasses, the appropriately colored lenses or color films have. Previously most of the colors red and green or red and blue were used. Since the late 1970s, there is the Stephen Gibson patented "Deep Vision" process, which is now used in most cases. Gibson used the red filter (right) and cyan (left). . Cyan composed of equal parts of blue and green, and allows a better representation of true colors "
That's all well and good to me but nothing really explains
First a few preliminary observations.
We first write in 2010 (almost 2011), which means I'll would discuss in historical context.
second I speak here of a digital workflow (except possibly in the presentation).
What is an anaglyph image:
Wikipedia has my work accepted a technical report writing to anaglyph. But here again, in other words.
The anaglyph is a picture pair is superimposed. The different parts of the image will be displayed in either red or cyan.
a difference of red and cyan, it is determined by the Different factors.
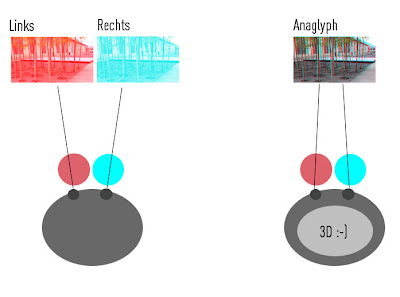
A pair of glasses with a red lens on the left eye and a cyan lens in the right eye filters the two images. Thus we see two separate images and our brain assembles a 3-dimensional illusion.
Sometimes an illustration helpful:
Here we have red after recording the left image, the right image and colored blue. If one superimposes the images creates a 3D impression.

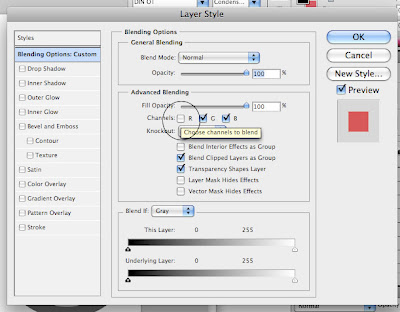
To create this impression in Photoshop gibts da NEN very simple way.
first Both images in a file copy.
second Make sure that the lower level, the picture from the left perspective.
third Double-click on the right (top) level.
4th When Advanced Blend Mode, the box with R (for red) and click Finish. escape

0 comments:
Post a Comment